Today, we have a special treat. I've asked my new friend Allison to come over and share some of her expertise. She is a wiz with thrift-store makeovers! I found her blog a few weeks ago and was just amazed with her creations. If there's one thing I've learned from her, it's that everything can be fixed with spray paint. :) She really makes me want to go thrifting. Take it away, Allison!
---------------------------------------------------------------------------
Hi gals from Make*Happy! I'm so thrilled that Marisa invited me to guest blog today. I absolutely love her blog! It's so fun and fresh. Marisa is so fun to chat with!! I'm glad I've had the opportunity to get to know her a bit better the last few weeks.

Hi! I'm Allison from House of Hepworths!!
I LOVE making things cute! I blog constantly about anything Crafty and Thrifty.

I'd love for you to stop by my blog, House of Hepworths and see all the fun stuff I've got goin' on.
Some of the cool craft decor I've made recently are my favorite cloche and my soap pump and knife block duo.
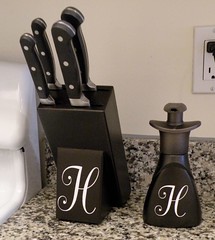
Aren't these so fun? I just love them!
~*~*~*~*~*~*~*~*~*~*~*~*~*~*~*~*~
Now for the fun part - TUTORIAL!!!
Today I'm going to show you how to paint ceramic pitchers and then how to fill them with a spring floral arrangement.
I went to Goodwill and found these vases:

I love the shape of them, but I'm not loving the decals painted on them.
No need to fear! Painting ceramic is super-duper easy. Even easier than I originally anticipated.

After I ran them through the dishwasher, I took them outside and spray painted them with a white coat of Primer.

Whoops. This one fell over and got totally yucky.
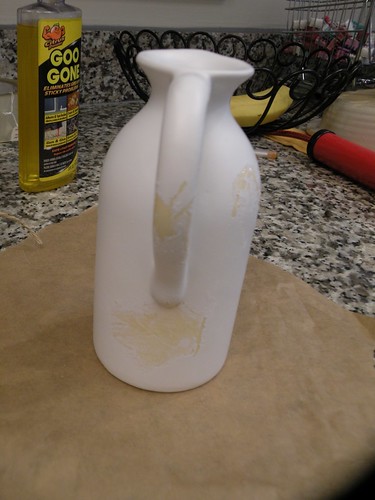
No biggie. Just let it finish drying, wipe it down really well, and take a little sand paper and buff off the bumpy edges. Then just prime it again.
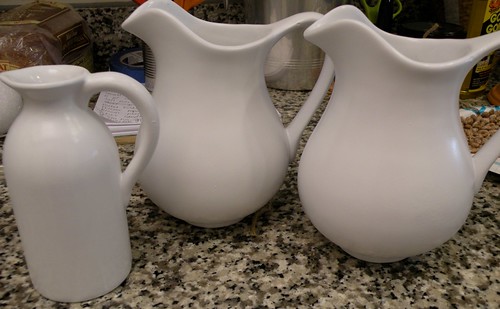
After they were all primed, I painted them with Rust-oleum Lacquer High Lustre Coating in white.
Don't they look so great?! I {heart} spray paint!
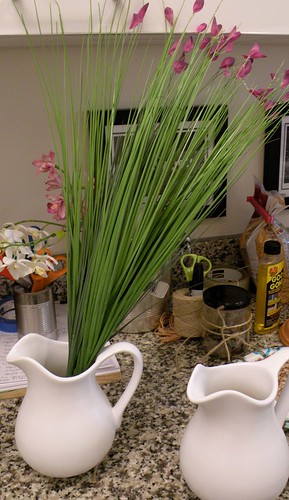
(Each floral bunch was $3.99 @ Michael's Arts and Crafts.)
The floral bunch I bought for each pitcher is way too tall. What to do?!

The first thing you need to do it cut the bunch apart. Just cut right through the floral tape.
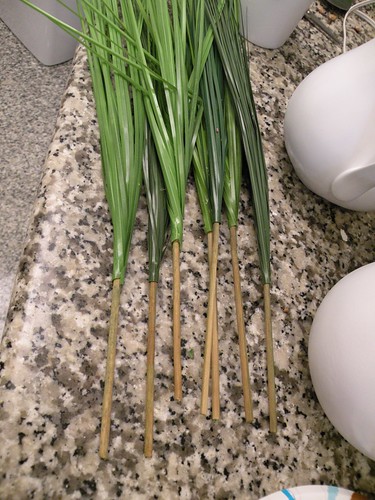
Once the floral tape is removed, separate each piece.
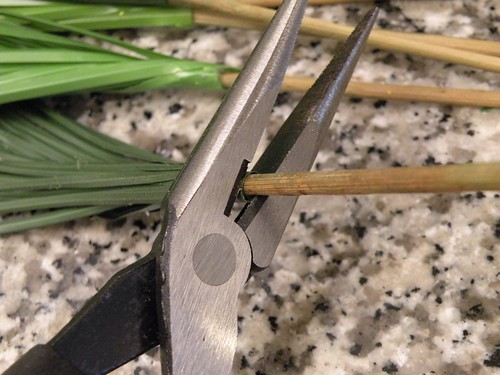
And then just snip off the extra that you don't need.

This bunch was so full that I didn't need to use floral foam in the bottom of the pitcher. I just stuck it right back in.
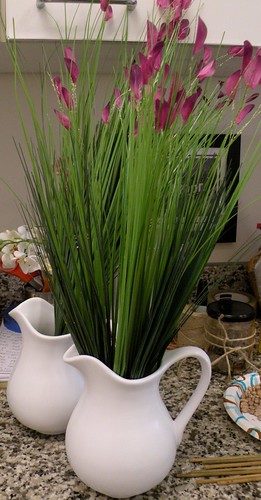
Much better height.

Love it!
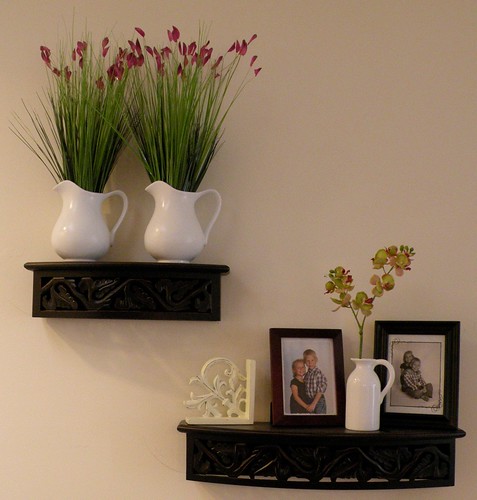
And for the little one, I just added a fake orchid.
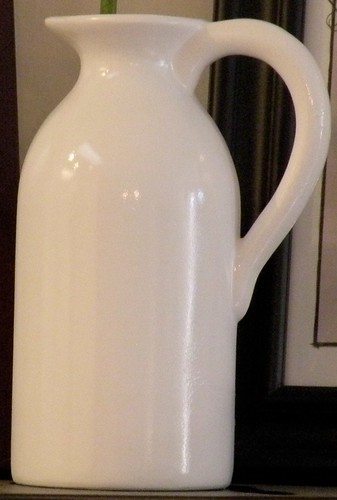
You can't even tell that it got all gross while I was priming it.
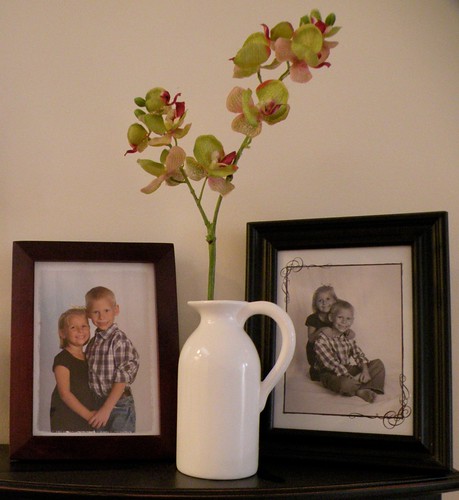
~*~*~*~*~*~
From ugly:

To ah-mazing!!!

~*~*~*~*~*~*~*~*~*~*~*~*~*~*~*~*~
If you like what you see, come check out my site @ House of Hepworths for many more revamps, renovations, and remodels!
You can find me by clicking my header or any hyper-link.

Find me on Facebook:

And on Twitter:

If you'd like continuous post updates so you never miss any fun craft ideas, subscribe to House of Hepworths by clicking the orange square.
Thanks for reading House of Hepworths! I hope you like what you see and come stop by and say hi!
Also, I'd like to thank Marisa for letting HoH guest blog today at Make*Happy. I've had so much fun!!

---------------------------------------------------------------------------
Thank YOU, Allison! I can't count how many times I've turned away from a similar pitcher with a great shape, but some horrid logo. Now I know how to salvage it!

