 Ah, we're almost done with this dog costume challenge! And I think it's a fair assumption that I will be able to create all my pieces from one fat quarter. Hooray!
Welcome to Part 5--the paw mittens. The "mitten" part was super easy. Making them look like paws, on the other hand, was not.
First things first. I traced J's hand in a mitten shape (so, I didn't trace all individual fingers, just fingers together and thumb) on a piece of paper. I drew another line 1/2" out from my original line and cut there, to make sure I had enough room for my seam and some wiggle room for fingers. Then I used the pattern to cut four mitten pieces out of my fabric, making sure the thumb sides matched up when I put them together.
To make them look like paws, I used some scrap pink fabric and cut, freehand, little shapes to make applique paw pads. Then I pinned the "pads" in place. Note: I did this before sewing the mitten pieces together. That allowed me to machine sew the appliques. Otherwise I would have been forced to do it by hand. (Shudder.)
 Although, I must say, machine sewing the appliques wasn't that much easier. Please don't look too closely at my stitching. It is absolutely atrocious. I zig-zagged those little pieces in place and despite the pins, both fabrics slipped and scrunched and made a big mess. But perhaps the wrinkles make them look more realistic? In addition, I was using leftover pink thread and had just enough. The end of the thread was literally off the spool and making its way down through my machine as I was stitching the last applique. Phew. It was a stressful sewing night.
 After wrangling with the appliques, I placed the mitten pieces right sides together (one with pads, one without) and stitched them together. Turned them right side out, hand sewed the wrist hem, and they were done.
One wrist is a little snug, but I have enough length that I can trim some off and re-hem to fix it. I think they look pretty darn cute.
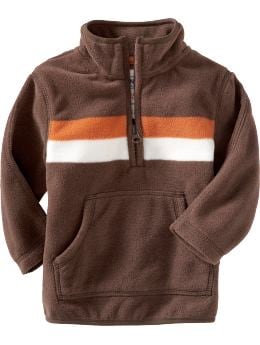
 With the remainder of my fabric, I will attempt to make shoe covers and, if I have enough left, some patches to cover the stripes on the fleece jacket I found for the top portion of the costume.
 If not, oh well...$7.50 for a fleece jacket was too good to pass up, even if I have to deal with orange and white stripes. When the jacket arrives next week, I'll get J all dressed up and post a pic of the finished costume.
